Installing or Replacing a Drive Module
If you’re not using an Xserve RAID Card, the drive modules in the Xserve are hot-
pluggable, so you can add, remove, or replace them while the Xserve is operating.
A status light on the drive handle indicates when it’s safe to remove a drive without risk
to the information stored on it.
If you are using an Xserve RAID Card, you can replace a failed drive while the Xserve is
operating. However, if you want to replace an entire RAID set, turn off the Xserve before
you move the drives.
About Drive Modules for the Xserve
The Xserve accepts both SATA (Serial ATA) Apple Drive Modules and qualified third-
party SAS (Serial Attached SCSI) drive modules. For information on qualified drive
modules, go to www.apple.com/store. If you are using an Xserve RAID Card, be sure to
use drive modules that are all the same size and type.
To install or replace a drive module:
1
If the Xserve case is locked, use the enclosure key to unlock the security lock on the
front panel.
2
Remove the blank drive module or the drive module that’s currently installed.

25
Chapter 2
Installing or Replacing Components
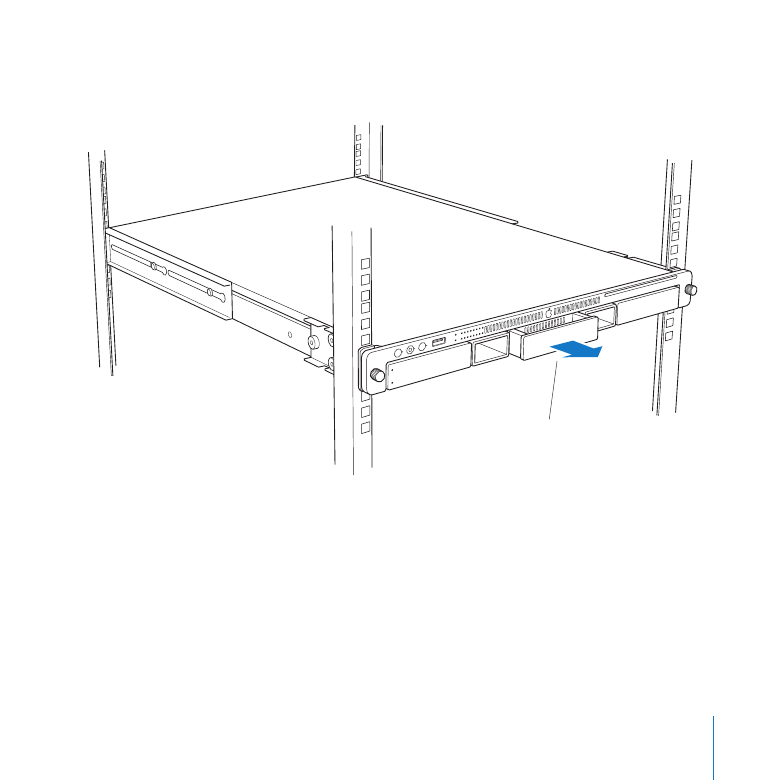
If there is a blank drive module in the bay, press the handle on the front to pop it out.
Then pull the module out and put it in a safe place.
Press the blank drive
module to pop out the handle.

26
Chapter 2
Installing or Replacing Components
Important:
Save the blank drive module. Always keep a blank drive module in any
unused drive bay to maintain proper airflow through the Xserve.
Remove the blank
drive module from the bay.
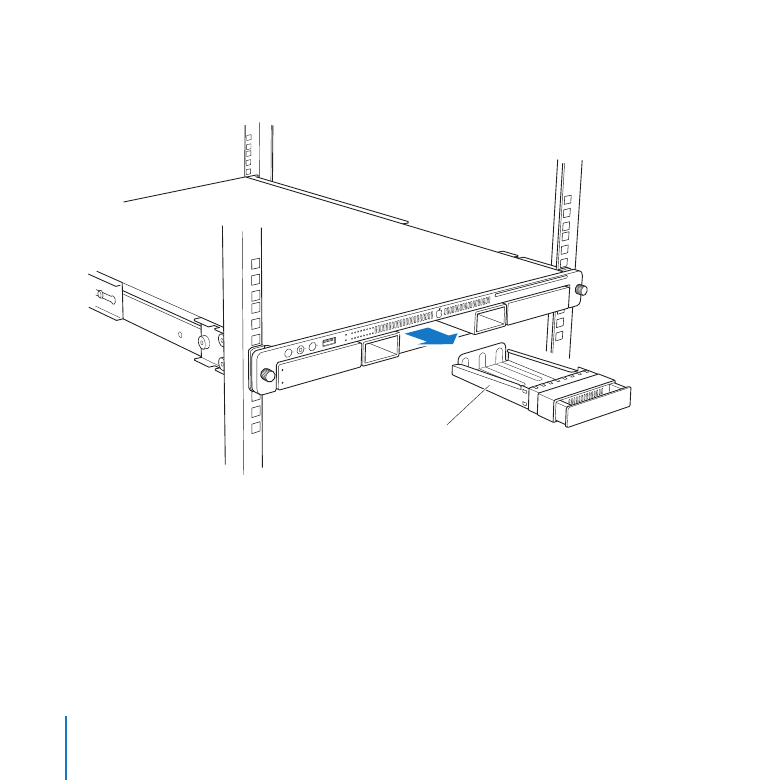
If there is a drive module already in the bay:
a
Make sure the drive currently in the bay is not being used by any application or
being shared by the Xserve.
b
Press the handle on the drive module so the handle pops out.
c
Wait for the green, upper disk status light to go off. Then grasp the handle and
pull the drive module out of the bay. If the light doesn’t go out after 20 seconds,
an application probably has a file open on the drive.

27
Chapter 2
Installing or Replacing Components
3
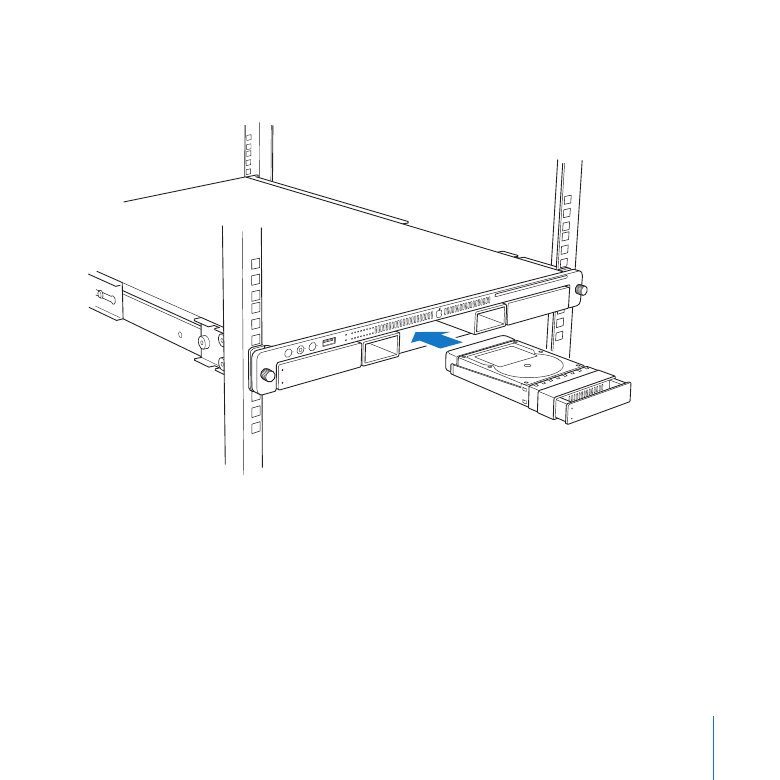
Pick up the drive module you are installing, press and release its handle to open it,
and slide the module into the bay until it is firmly seated.
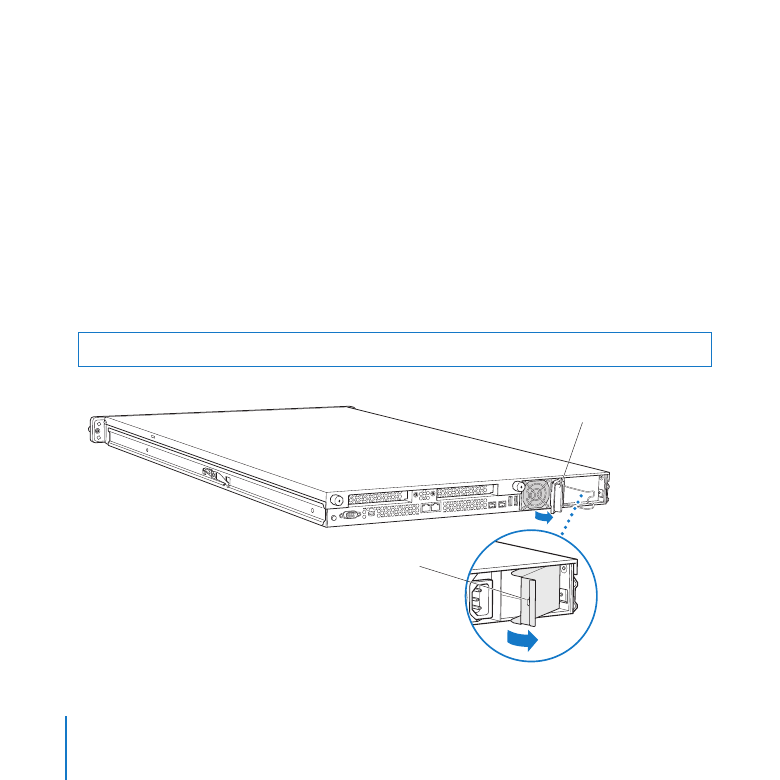
4
Press the handle in flush with the front panel.
The disk status light turns green to indicate normal operation.

28
Chapter 2
Installing or Replacing Components